This article is Orginally posted by Alex Foster on Medium.
Travel vlog tips with DJI Osmo Action
1. Capture the Fleeting Moment
Snapshots + Custom Mode
“Time isn’t a luxury you have with travel photography as you’re moving through various kinds of scenes all the time.” The key of a content-rich travel vlog usually lies in the capturing of the often-fleeting moments. Thus, short setup time of your gear can is essiential while vlogging.
Tips: With the “Snapshots” feature of Osmo Action, you can immediately start shooting by pressing the Shutter button even when the camera is power off or in sleep mode. This will allow you to start recording in less than 2 seconds!
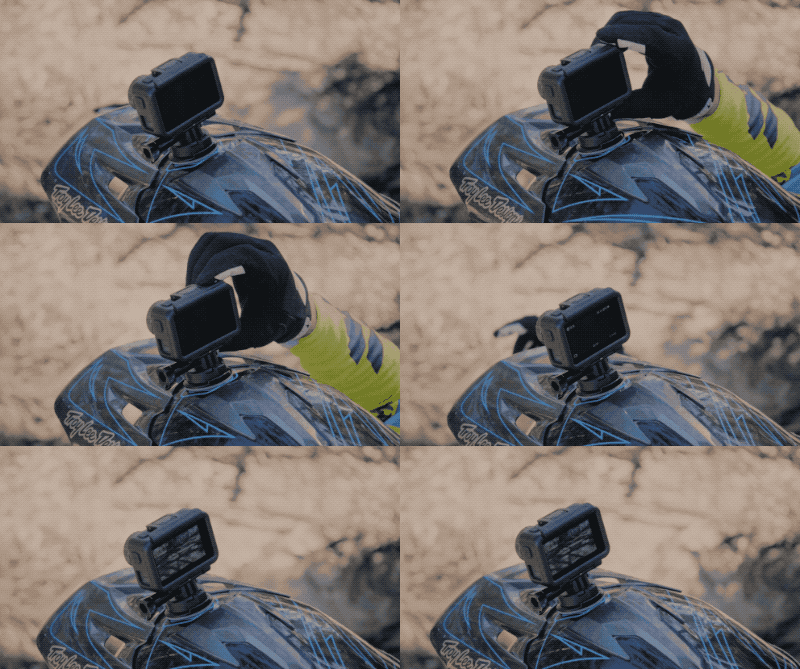
Snapshots
In countless occasions, you miss wonderful shots as you have to scroll the right settings into your camera. But the Custom Mode in Osmo Action can solve this problem.
Tips: You can save up to 5 of your shooting modes and exposure settings as your custom modes. Next time when you come across similar scenes, you can select these preset shooting modes in seconds.
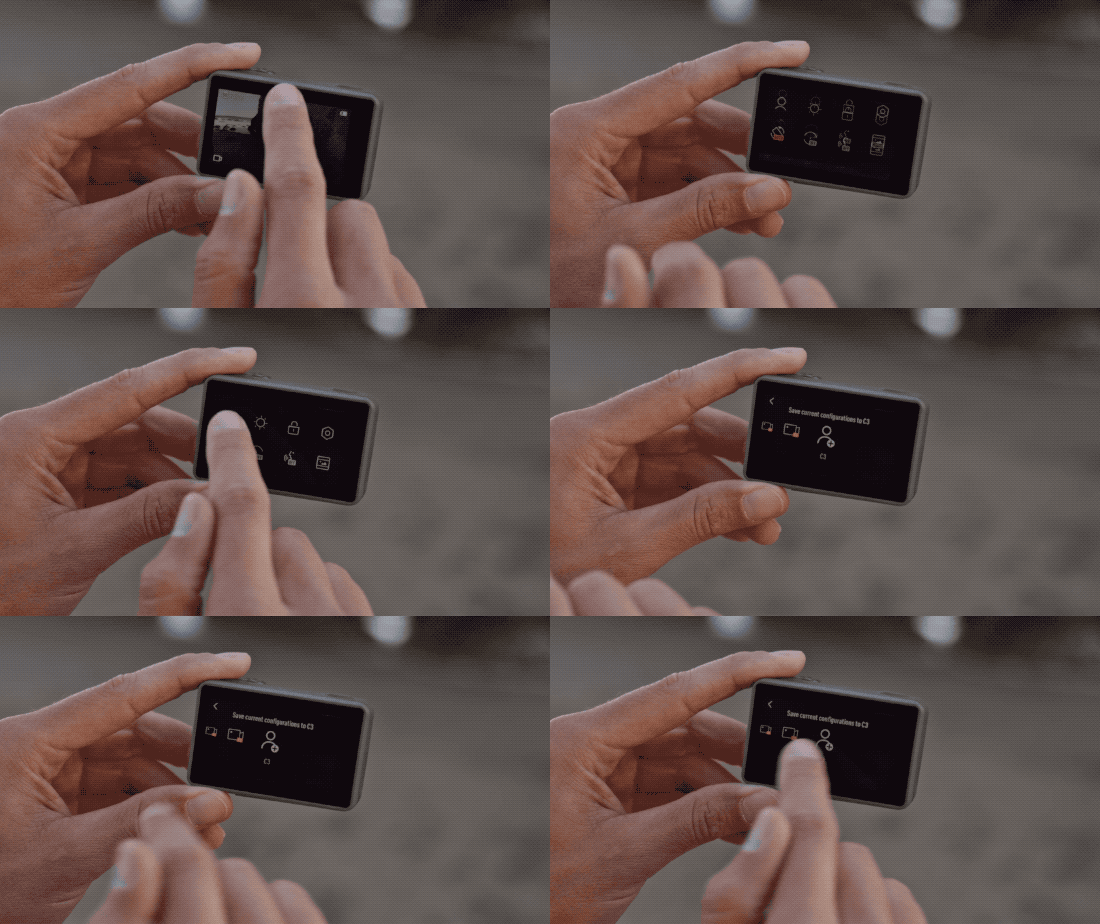
Custom Mode
2. “Freeze” the Highlighted Moments
For dancers,sports fans and extreme sports enthusiasts, you probably want to freeze your most stunning moments with a mind-blowing “selfiescapes” shots.
How to “freeze the moment”?
Tips: Take advantage of Osmo Action’s high framerate to capture your exciting moments. It supports up to 8 times slowmotion shooting mode, enabling you to record tricky movements, and to enrich your vlog with rhythmical footages.
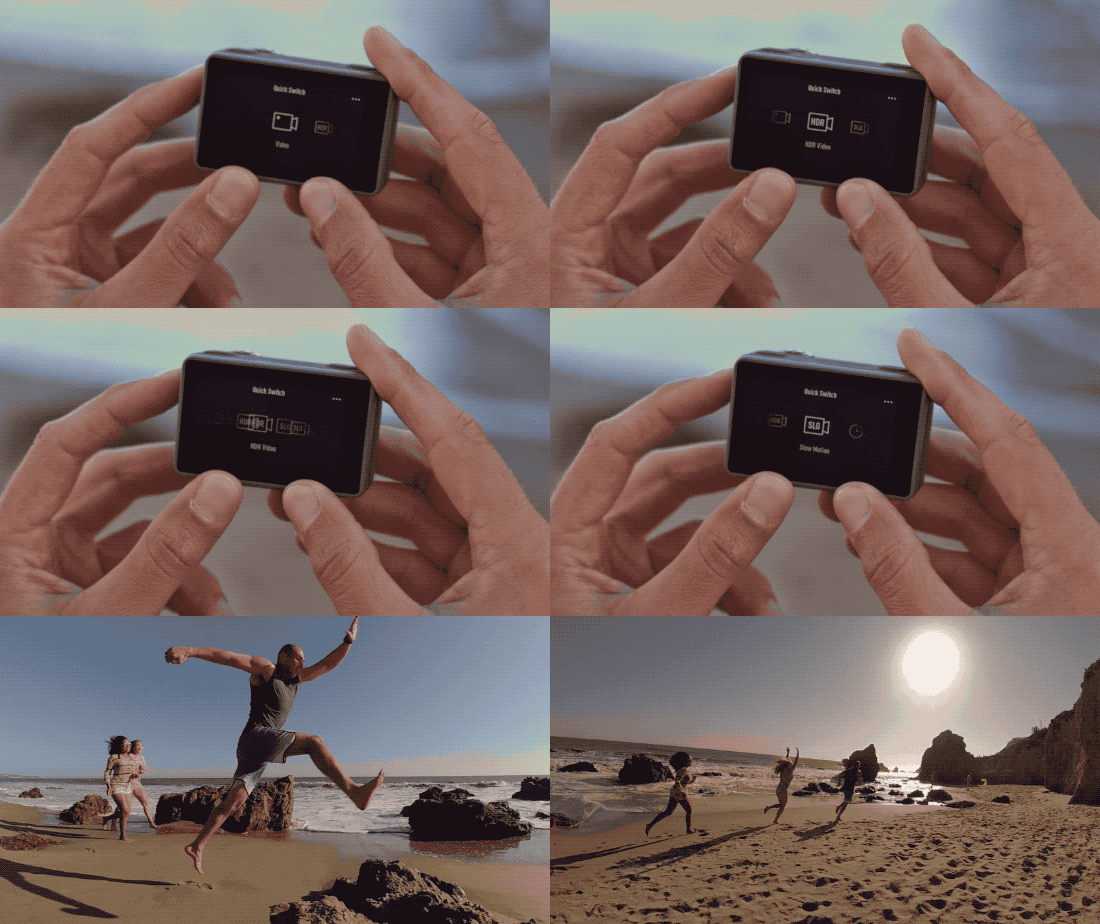
Slow Motion
How to get a mind-blowing “selfiescape” pic?
Tips: Simply set your Osmo Action to Slowmotion mode to capture amazing stunts and poses. This will ensure you have an array of photos to choose from.
3. Real-time Front Screen Display
Many travellers may find it extremely boring or dull with only landscape in the video. So you’ll probably want to be in the frame of your travel vlog. The front screen of Osmo Action has gained a lot of praises as it enables you to check everything you want to shoot is in the frame, of course, including yourself.
Tips: Double tap Osmo Action’s touchscreen with two fingers, or press and hold the QuickSwith Button to switch screens.
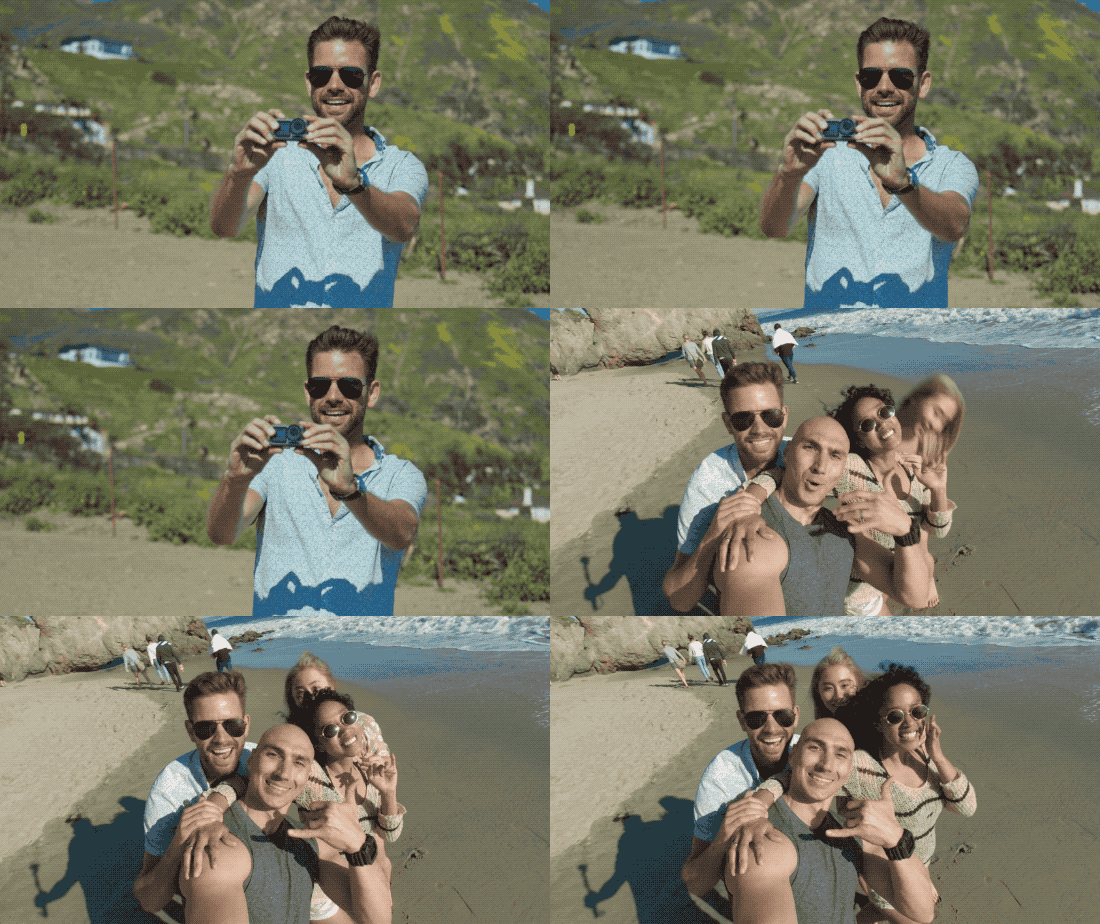
Dual Screen
4. Different Shooting Perspective to Get Cinematic Shots
If you you’re a creative travel vlogger, it’s important to have a firm understanding of cinematic shots. These shots will surely add more dimensions to your vlog.
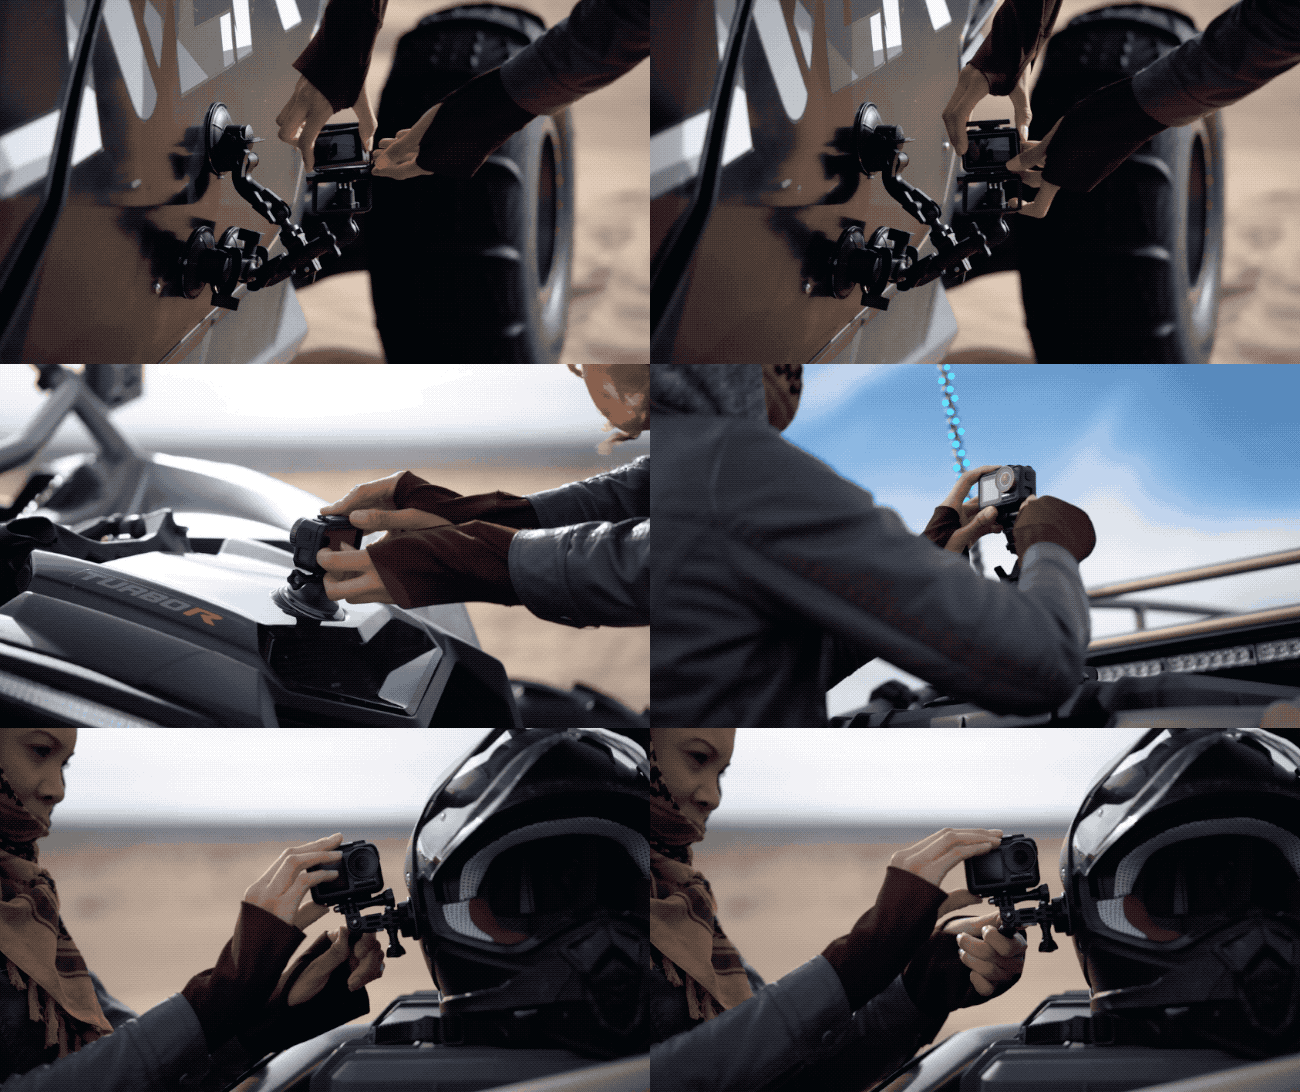
Tips: You can try mount your Osmo Action in different shooting positions to create interesting perspectives. By putting Osmo Action into its frame kit, you can mount it on any shooting position through its Adhesive Mound Kit. The first-person view perspective will definitely give your audience a unique and immersive feeling.
5. Shooting in the “Golden Hour”
Professional photographers take “golden hour” as the time of day with the best lighting. It is roughly the first hour of light after sunrise, and the last hour of light before sunset. If you already have the incredible landscape, and with the right quality of light, you’ll be able to create a dynamic, inspiring video footage.
But the sunset can be very hard to capture as the strong contrast between light and dark can block the landscape that you intend to shoot.
Then how to properly shoot your vlog in the “Golden Hour”?
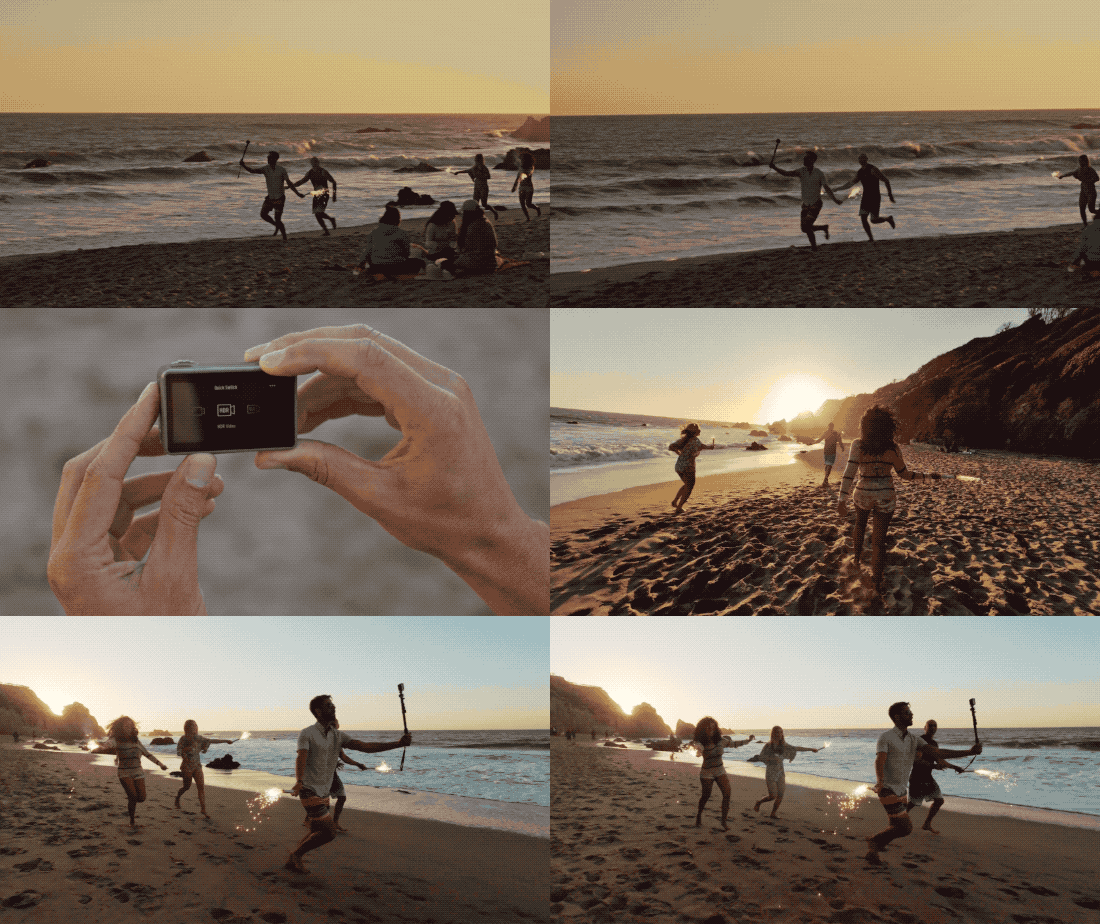
Tips: Shoot with Osmo Action’s HDR mode. It can help restore details both in highlights and shadows. It can capture an extra 3 stops of dynamic range to preserve details that are often lost in difficult lighting conditions.
HDR Mode
6. Post-editing Tips
Every great travel vlog needs post-editing.
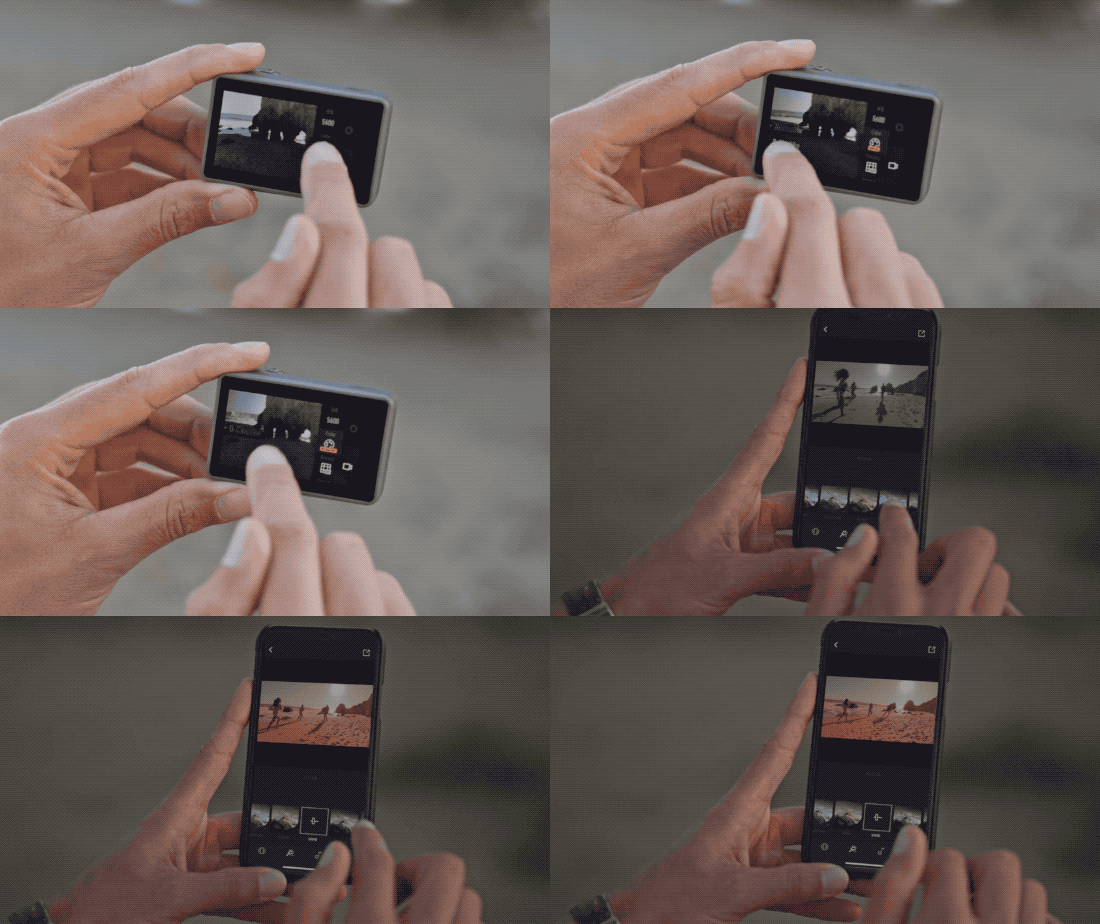
The D-cinelike mode in Osmo Action will give your footage less colors and more options in post-production. The D-cinelike mode has two main purpose:
· Capturing higher dynamic range
· Providing more accesses to your own colors in post-production
After you get your D-cinelike footage, you can add some luts or picture profile presets to create your own cinematic vlog.
D-Cinelike Footage
I hope you guys find above tips useful in your travel vlogging. Have fun with it!
Travel vlog tips with DJI Osmo Action
1. Capture the Fleeting Moment
Snapshots + Custom Mode
“Time isn’t a luxury you have with travel photography as you’re moving through various kinds of scenes all the time.” The key of a content-rich travel vlog usually lies in the capturing of the often-fleeting moments. Thus, short setup time of your gear can is essiential while vlogging.
Tips: With the “Snapshots” feature of Osmo Action, you can immediately start shooting by pressing the Shutter button even when the camera is power off or in sleep mode. This will allow you to start recording in less than 2 seconds!

Snapshots
In countless occasions, you miss wonderful shots as you have to scroll the right settings into your camera. But the Custom Mode in Osmo Action can solve this problem.
Tips: You can save up to 5 of your shooting modes and exposure settings as your custom modes. Next time when you come across similar scenes, you can select these preset shooting modes in seconds.

Custom Mode
2. “Freeze” the Highlighted Moments
For dancers,sports fans and extreme sports enthusiasts, you probably want to freeze your most stunning moments with a mind-blowing “selfiescapes” shots.
How to “freeze the moment”?
Tips: Take advantage of Osmo Action’s high framerate to capture your exciting moments. It supports up to 8 times slowmotion shooting mode, enabling you to record tricky movements, and to enrich your vlog with rhythmical footages.

Slow Motion
How to get a mind-blowing “selfiescape” pic?
Tips: Simply set your Osmo Action to Slowmotion mode to capture amazing stunts and poses. This will ensure you have an array of photos to choose from.
3. Real-time Front Screen Display
Many travellers may find it extremely boring or dull with only landscape in the video. So you’ll probably want to be in the frame of your travel vlog. The front screen of Osmo Action has gained a lot of praises as it enables you to check everything you want to shoot is in the frame, of course, including yourself.
Tips: Double tap Osmo Action’s touchscreen with two fingers, or press and hold the QuickSwith Button to switch screens.

Dual Screen
4. Different Shooting Perspective to Get Cinematic Shots
If you you’re a creative travel vlogger, it’s important to have a firm understanding of cinematic shots. These shots will surely add more dimensions to your vlog.
Tips: You can try mount your Osmo Action in different shooting positions to create interesting perspectives. By putting Osmo Action into its frame kit, you can mount it on any shooting position through its Adhesive Mound Kit. The first-person view perspective will definitely give your audience a unique and immersive feeling.

5. Shooting in the “Golden Hour”
Professional photographers take “golden hour” as the time of day with the best lighting. It is roughly the first hour of light after sunrise, and the last hour of light before sunset. If you already have the incredible landscape, and with the right quality of light, you’ll be able to create a dynamic, inspiring video footage.
But the sunset can be very hard to capture as the strong contrast between light and dark can block the landscape that you intend to shoot.
Then how to properly shoot your vlog in the “Golden Hour”?
Tips: Shoot with Osmo Action’s HDR mode. It can help restore details both in highlights and shadows. It can capture an extra 3 stops of dynamic range to preserve details that are often lost in difficult lighting conditions.

HDR Mode
6. Post-editing Tips
Every great travel vlog needs post-editing.
The D-cinelike mode in Osmo Action will give your footage less colors and more options in post-production. The D-cinelike mode has two main purpose:
· Capturing higher dynamic range
· Providing more accesses to your own colors in post-production
After you get your D-cinelike footage, you can add some luts or picture profile presets to create your own cinematic vlog.

D-Cinelike Footage
I hope you guys find above tips useful in your travel vlogging. Have fun with it!


